
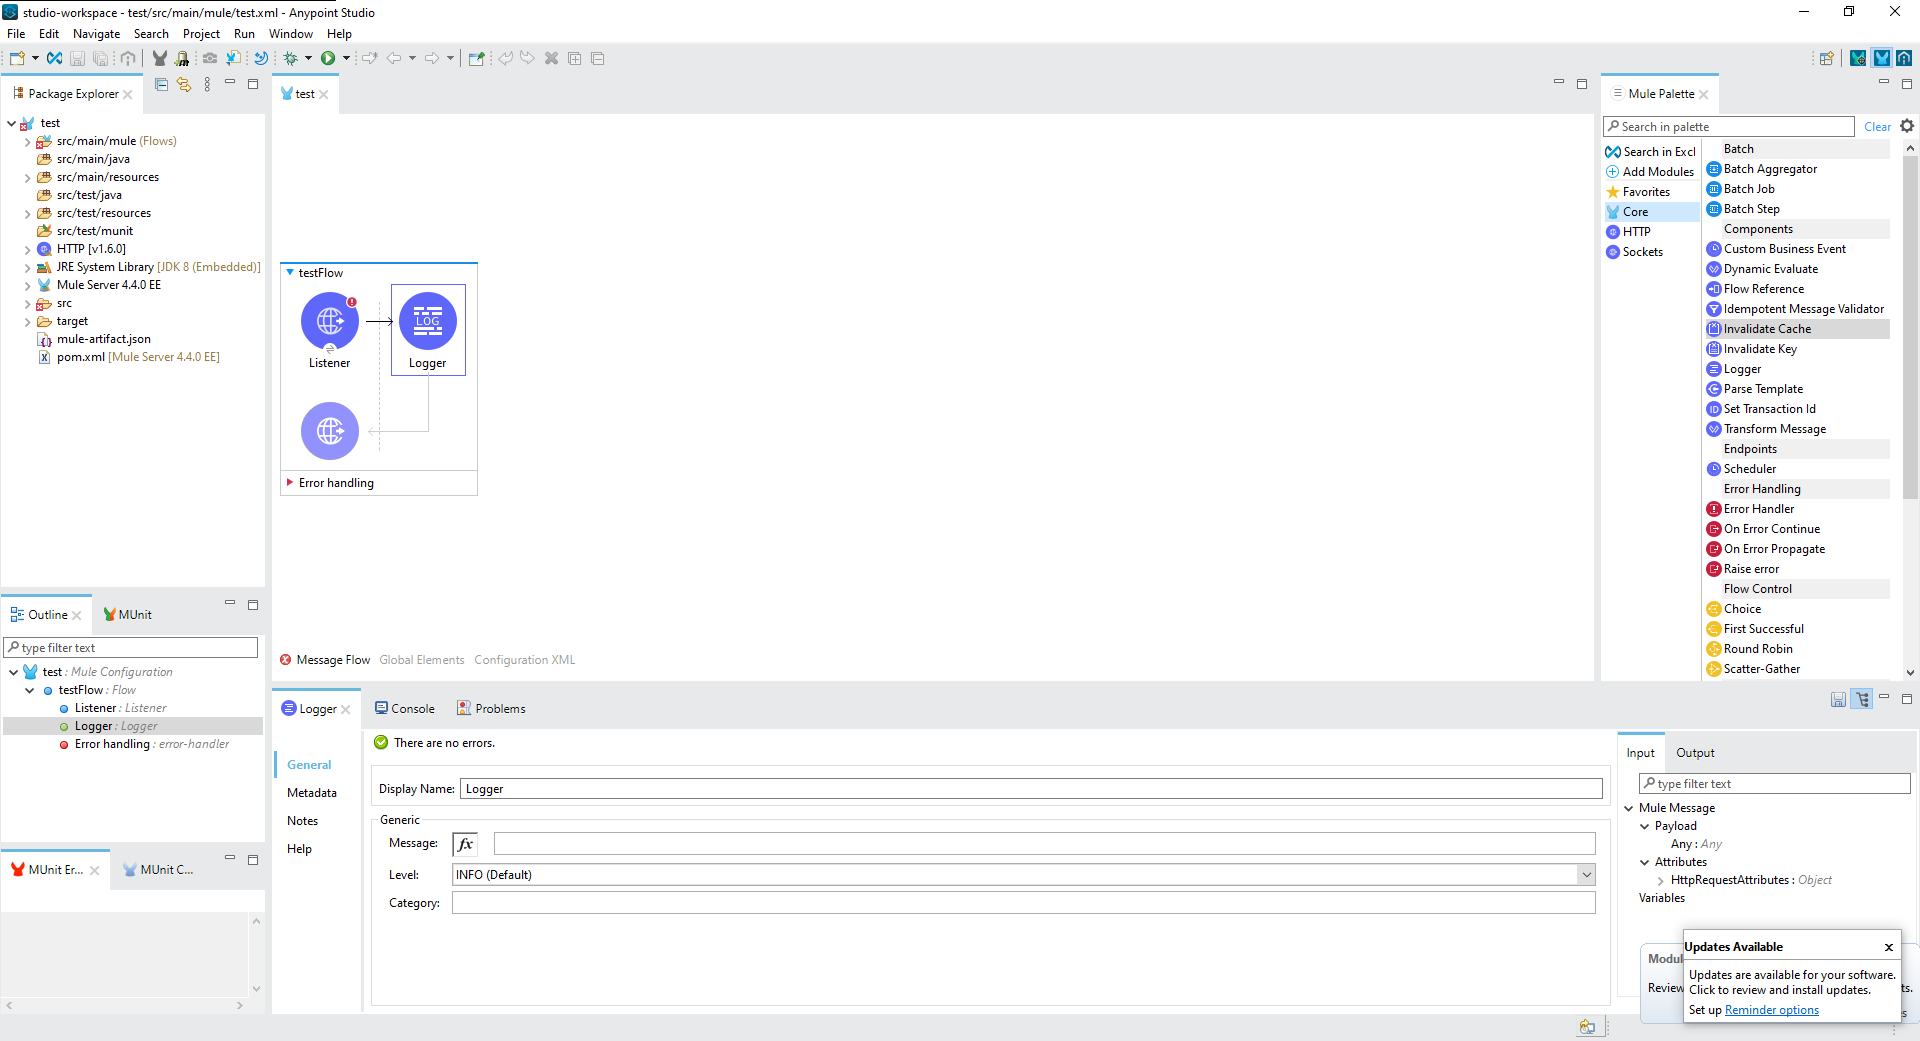
Recently I had to reinstall the MuleSoft IDE, Anypoint Studio (v7.12.1), on a clean Windows build and I noticed when I started Studio that it looked very “big” on my external monitors compared to my laptops screen. The icons were big, the text was big and all that extra space they take up means you just cant’ see as much at once. Either you have to make your palette, explorer, properties (etc.) panes so much bigger that they encroach on your flow design pane or you just accept that they get truncated.

For context, the laptop was a Surface Laptop 3 which had just been “migrated” back from Windows 11 to Windows 10. According to wiki, that means the 13.5″ internal screen has a resolution of 2256 x 1504, at 201 PPI. Since my external monitors were 22″ with an HD (1920 x 1080) resolution, I assume this is caused by Eclipse (which is the base of Anypoint Studio) not adjusting correctly when I move Studio from my main, internal display to the external monitor.
How to fix the scaling issues in Anypoint Studio
There is a fix to this, although it’s not perfect. The display seems to be much better if you override the “High DPI Scaling” behaviour for Studio. To do this:
- Find the AnypointStudio.exe file in your Studio home directory, right-click and open Properties.
- In the Compatability tab, under the Settings section click “Change high DPI settings”
- In the dialogue that pops up, tick the “Override high DPI scaling behaviour” box and select “System (Enhanced)”.
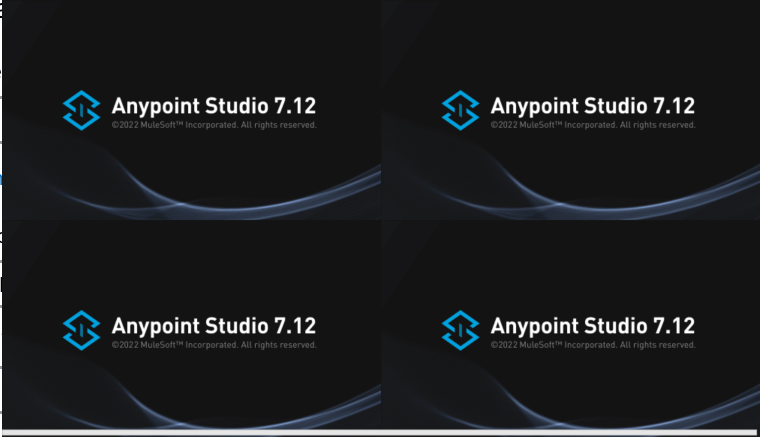
Et voila. It does produce this interesting tiling in the splash image when you’re loading up Studio, which is not inconsistent with MuleSoft’s general approach to testing Studio on Windows I suppose, but that is significantly preferable to the default “giant text and icons” on the external monitor.
If you’ve found another way to resolve this issue please let me know in the comments.